The previous article has explained how to install the phpMyAdmin application on Linux using the Apache web server. This article explains how to configure phpMyAdmin using nginx on Ubuntu.
Problem
How to install phpMyAdmin with nginx on Ubuntu?
Solution
Follow the steps below to install phpMyAdmin with Nginx on Ubuntu:
1. Update repo
Use the command below to update the Ubuntu repo:
sudo apt update -y
2. Install MariaDB
Next, install the MariaDB database using the command:
sudo apt install mariadb-server mariadb-client -y
Once finished, use the command below to change the root password in MariaDB:
sudo mysql_secure_installation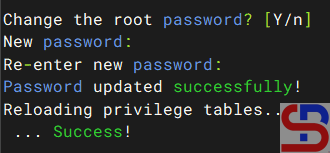
Then check whether the database is up or not using the command below:
sudo systemctl status mariadb
3. Install PHP
Install PHP by using the command below:
sudo apt install php php-fpm php-mysql php-cli php-curl php-gd php-mbstring php-xml php-zip -y
Then check the version of PHP that you just installed by using the command below:
php -v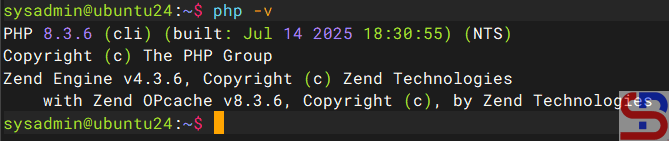
Usually, when installing PHP, the Apache package will also be installed on the server. Therefore, delete Apache using the command:
sudo apt remove apache2-* -y
4. Install phpMyAdmin
Use the command below to install phpMyAdmin:
sudo apt install phpmyadmin -y
At the time of installation, there are several pop-ups that you must answer, such as the selection of the web server you are using, as shown in the image below:
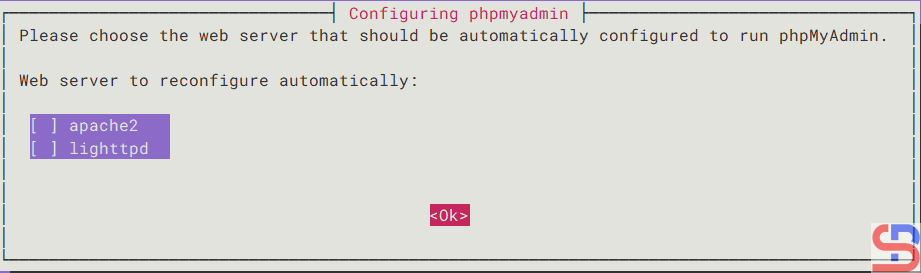
Just select the button Ok, then the process of installation will continue. A few seconds later, there will be a pop-up as below to insert the phpMyAdmin in the database:

Select the button Yes, and there’s a pop-up to enter the password for the user phpmyadmin in the database as in the picture below:

Enter the password you want, select the OK button, and there will be another pop-up to confirm the password as in the image below:
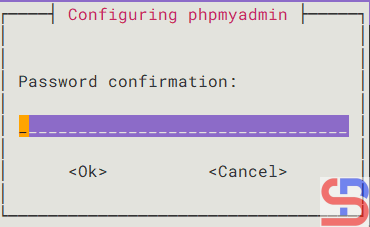
Enter the same password and select the Ok button, then the phpMyAdmin installation process will continue until completion.
5. Install nginx
Install nginx by using the command below:
sudo apt install nginx -y
After that, configure Nginx so that it can be integrated with phpMyAdmin. Copy the default file using the command below:
sudo cp /etc/nginx/sites-available/default /etc/nginx/sites-available/default.ori
Then in the default file, copy the script below:
server {
    listen 80;
    server_name _;
    root /var/www/html;
    index index.php index.html;

    location / {
        try_files $uri $uri/ =404;
    }

    location /phpmyadmin {
        root /usr/share/;
        index index.php;

        location ~ ^/phpmyadmin/(.+\.php)$ {
            try_files $uri =404;
            root /usr/share/;
            fastcgi_pass unix:/run/php/php8.3-fpm.sock;
            fastcgi_index index.php;
            fastcgi_param SCRIPT_FILENAME $document_root$fastcgi_script_name;
            include fastcgi_params;
        }

        location ~* ^/phpmyadmin/(.+\.(css|js|jpg|jpeg|gif|png|ico|html|xml|txt))$ {
            root /usr/share/;
        }
    }
}
ls -l /run/php/
After that, use the command below to check whether the nginx configuration has errors or not:
sudo nginx -t
If there are no errors, then you can run the command below to reload nginx:
sudo systemctl reload nginx
6. Open phpMyAdmin
Open your browser and type:
http://ip_server/phpmyadmin
Then there should be a display like below:
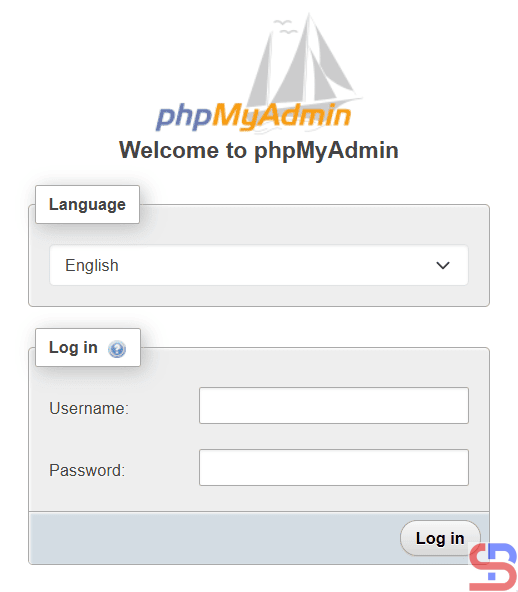
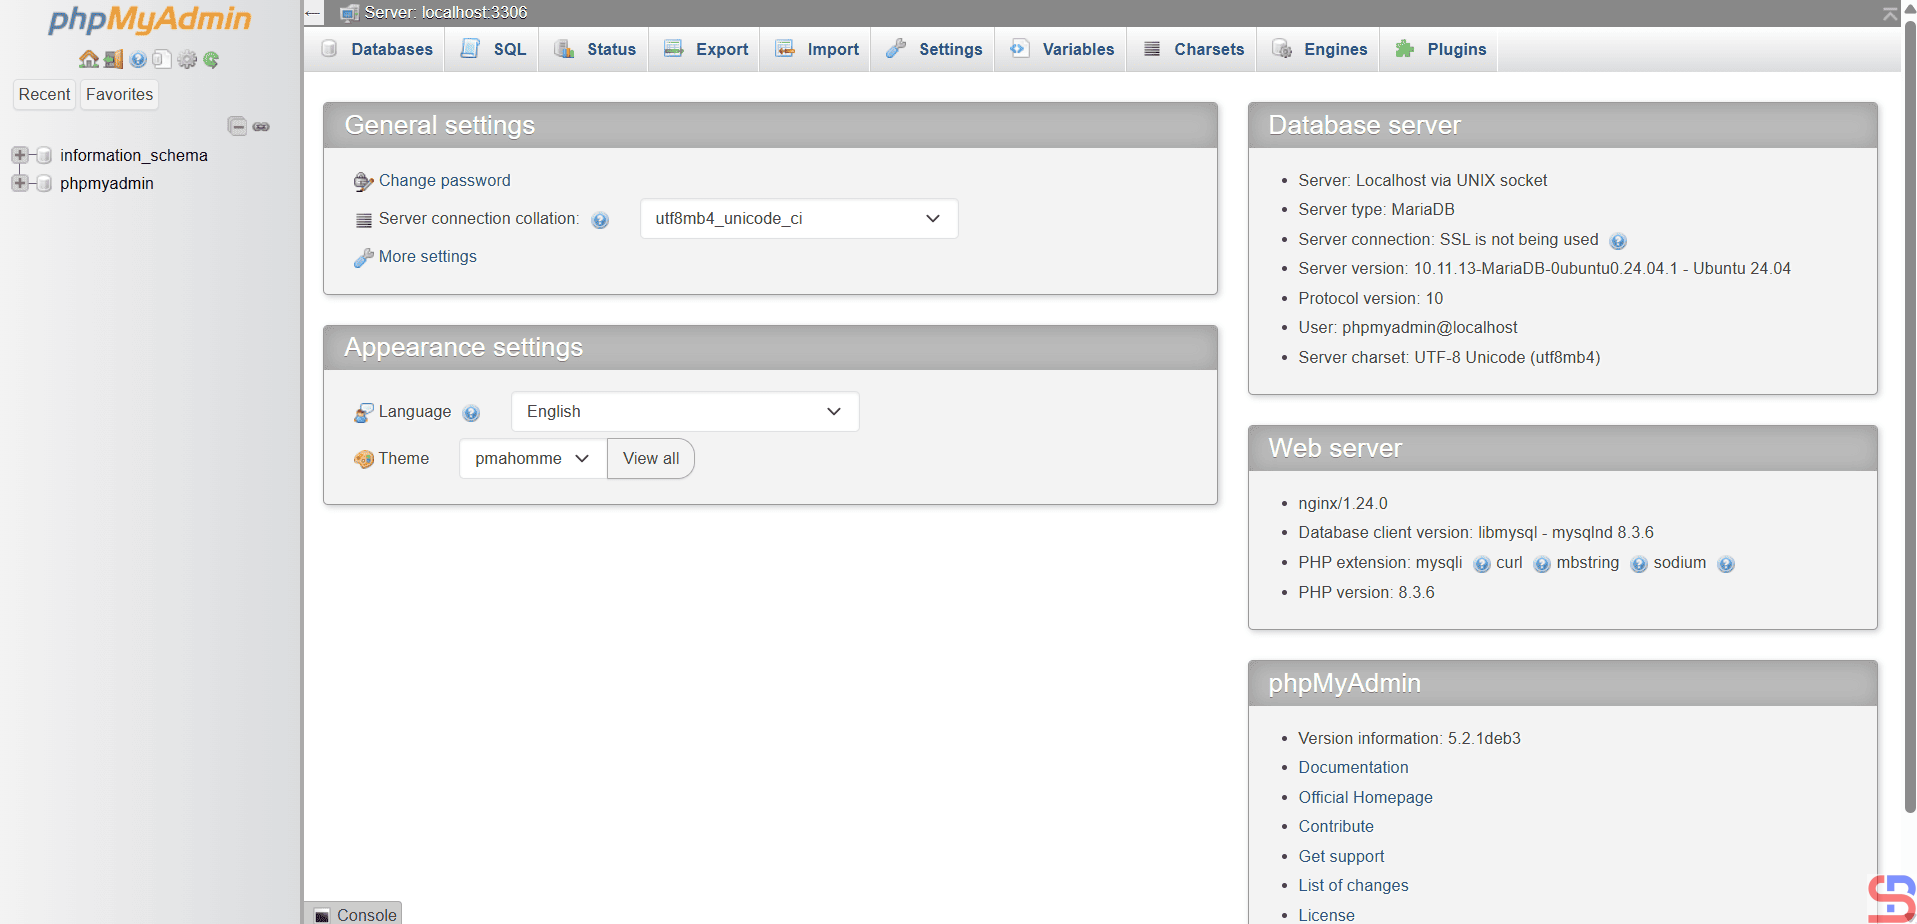
Enter the database username and password, for example, using the user phpmyadmin with the password that you created when installing phpMyAdmin, then there will be a display like the one below:
Note
If you want the phpMyAdmin application to be more secure, you can look at this page.
References
markaicode.com
linuxbabe.com
hostman.com

