Have you ever been doing a job using a terminal that runs the SSH protocol, whether it’s using a putty or a terminal in Linux, that takes a long time, for example syncing or downloading a file, but has to suddenly stop because the internet network is disconnected or your laptop suddenly shuts down? It is very disappointing because you have to repeat from the beginning of the work, or even more dangerous if you are updating the database, for example, doing an alter table in a database, but suddenly your internet connection is lost. Therefore, you need multiple sessions in one terminal so that if your internet connection or laptop goes down, the process will still run. There are several tools to run multiple sessions, but this article will explain the use of the screen tool.
Problem
How to run multiple sessions using the screen tool?
Solution
Screen or GNU Screen is a terminal application developed by the GNU project in 1987 that is used to create multiplex several virtual consoles, allowing a user to access multiple separate login sessions inside a single terminal window, or detach and reattach sessions from a terminal and keeping them running in the background even if your internet network or laptop goes down.
A. Install the screen
On some Linux distros, this tool is already installed by default, and to check it, use the command below:
screen --version
But if your Linux distro doesn’t have this tool, you can run the command below to install the screen:
RockyLinux/Almalinux/CentOS
yum install screen
Ubuntu/Debian
sudo apt update
sudo apt install screen
OpenSUSE
zypper install screen
B. Run the screen
Type the command below to run the screen:
screen
There will be a display like the image below:
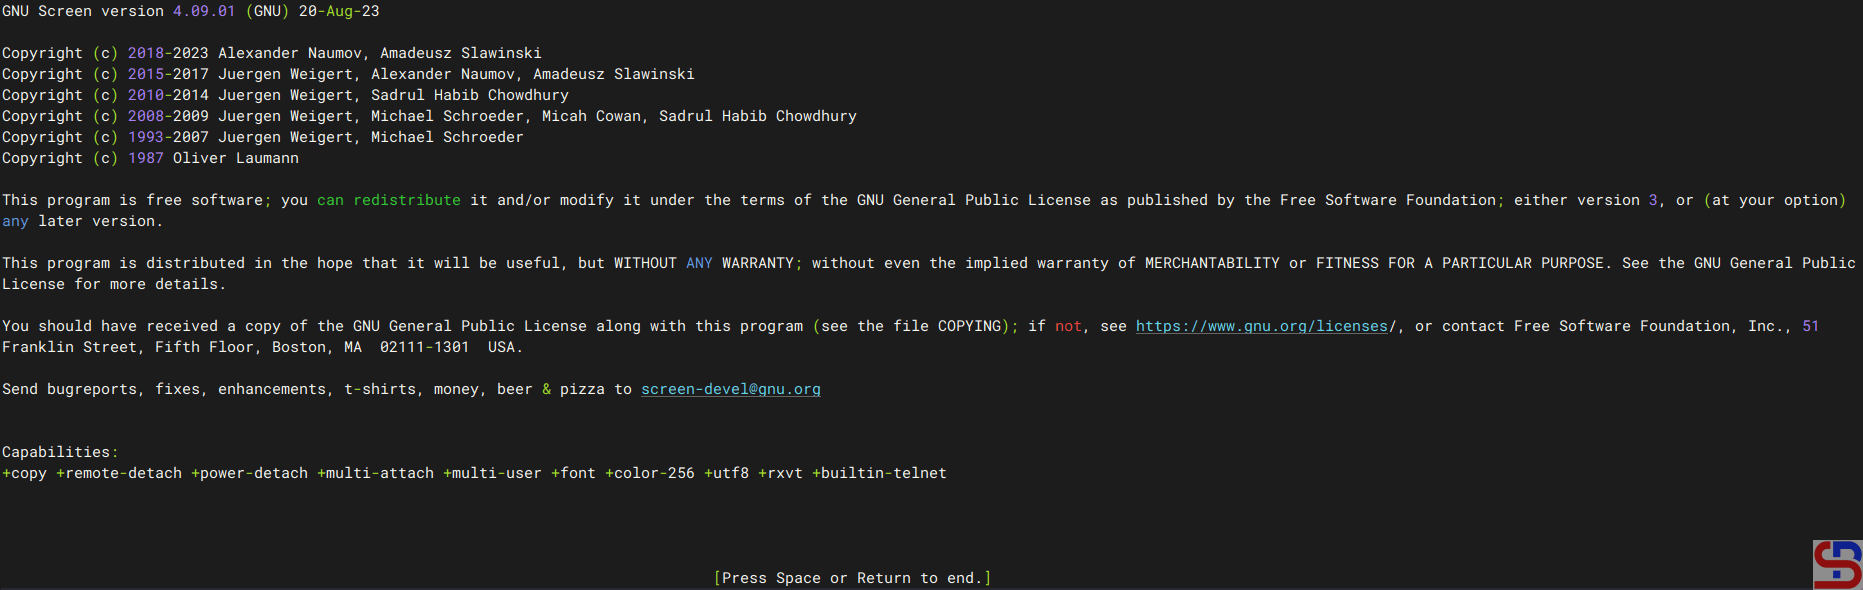
Press the Space or Enter key to continue, and after that, you are in the application screen. On the screen, you are free to use the Linux commands you want to run, for example, if you want to run the command:
free -m
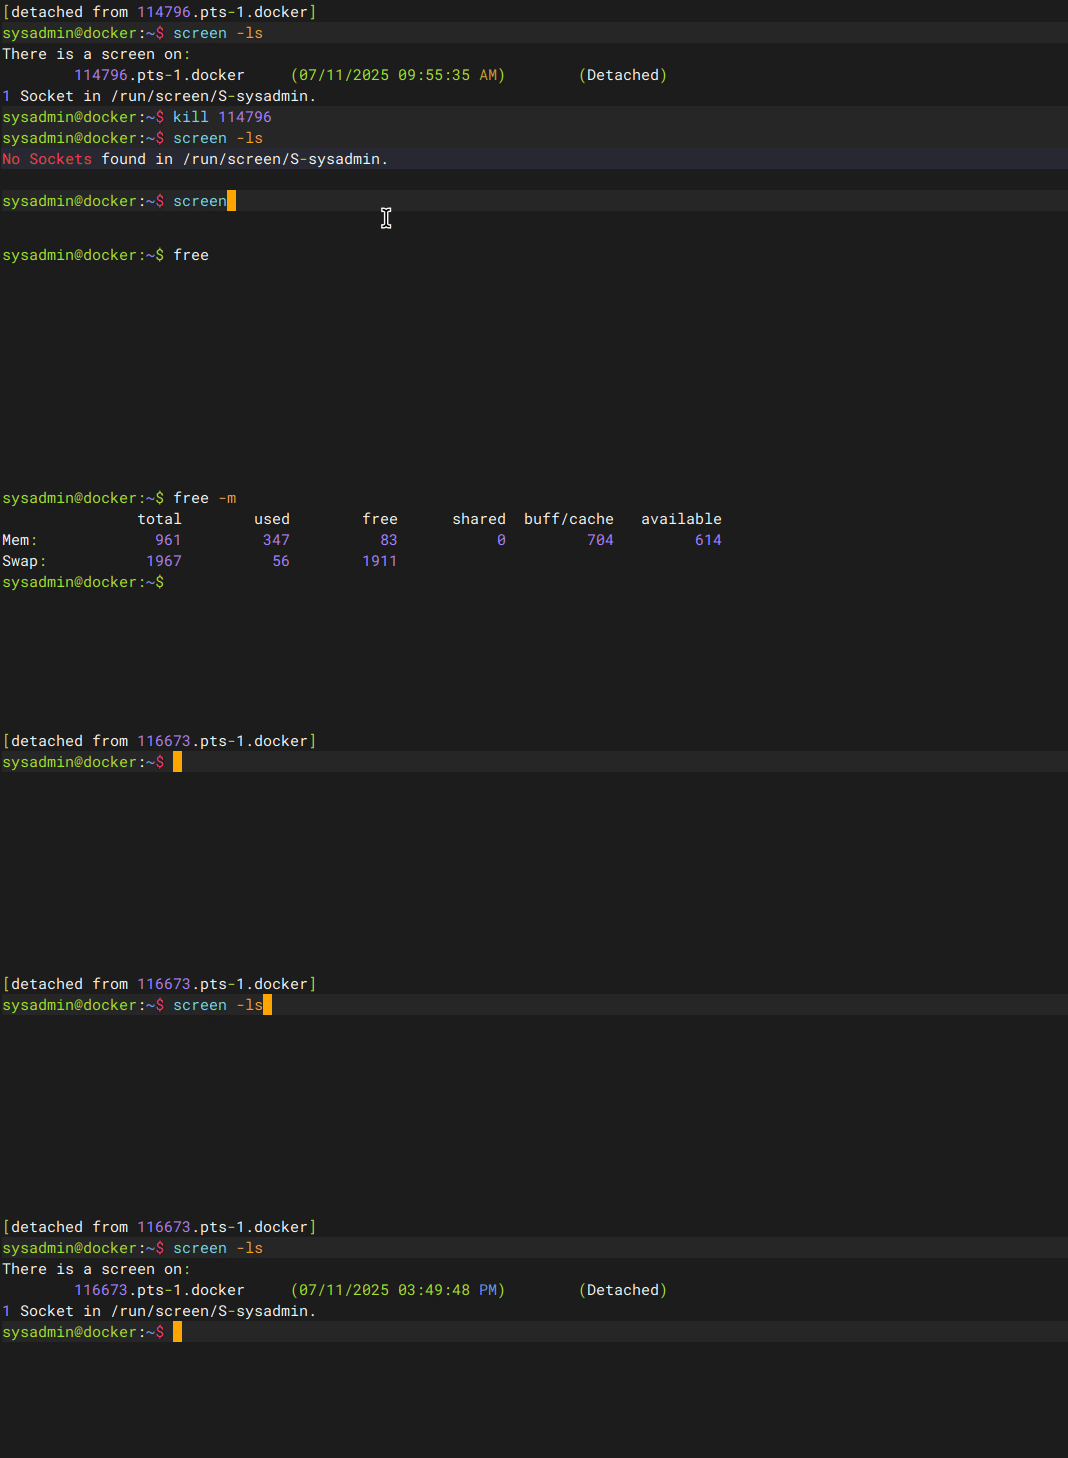
The command will display the size of the memory on the server. If you want to exit the screen but want the command to continue on the screen, press the Ctrl+ad key, then you will return to your default terminal. To view the running screen session, use the command below:
screen -ls
It will look like in the image below:
C. Reattach to the screen session
If you want to reattach the previous screen session, use the format below:
screen -r pid_screen
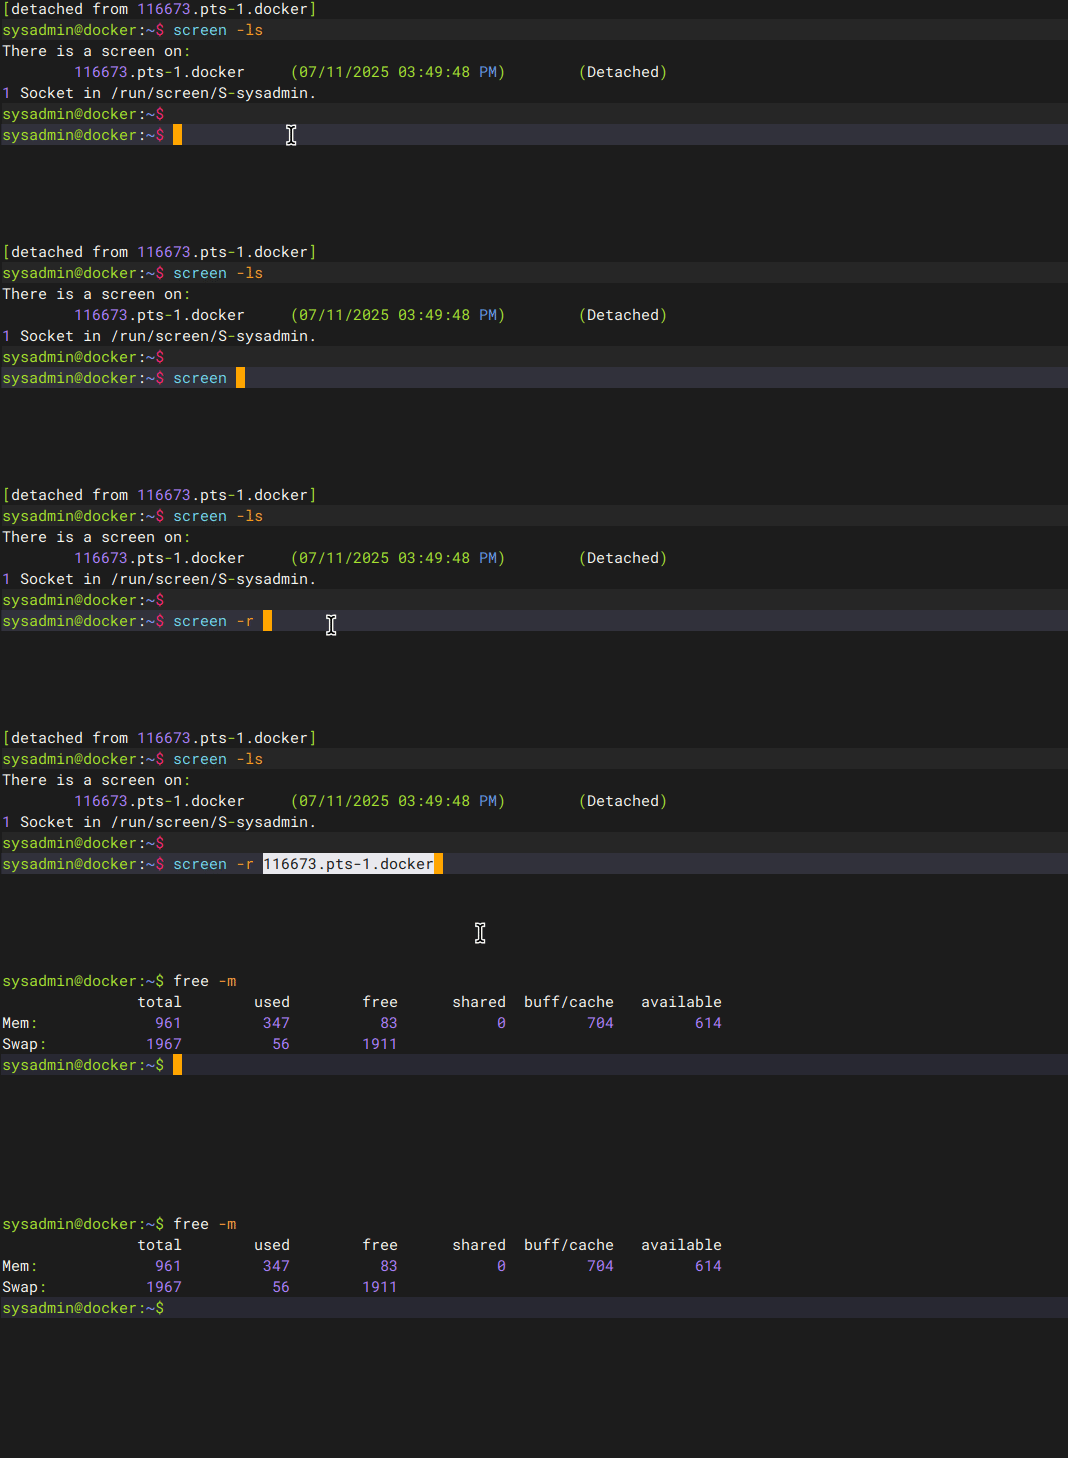
For example, my previous screen session used pid 116673.pts-1.docker, like in the image above. If I want to log in to the previous screen session, I type the command below:
screen -r 116673.pts-1.docker
And I can log into the screen session, and the size of the server memory will be displayed as I leave the screen session, like in the image below:
D. Naming a screen session
By default, the screen will give a pid in the form of a pid number followed by the terminal type and hostname, as shown in the image above (116673.pts-1.docker). However, it may be confusing to the user if the user uses more than one screen with different processes on each screen. Therefore, you can give a name to distinguish it using the format below:
screen -S screen_session_name
For example, if you want to use a screen to run the watch process, then you can use the command below:
screen -S watch_ram
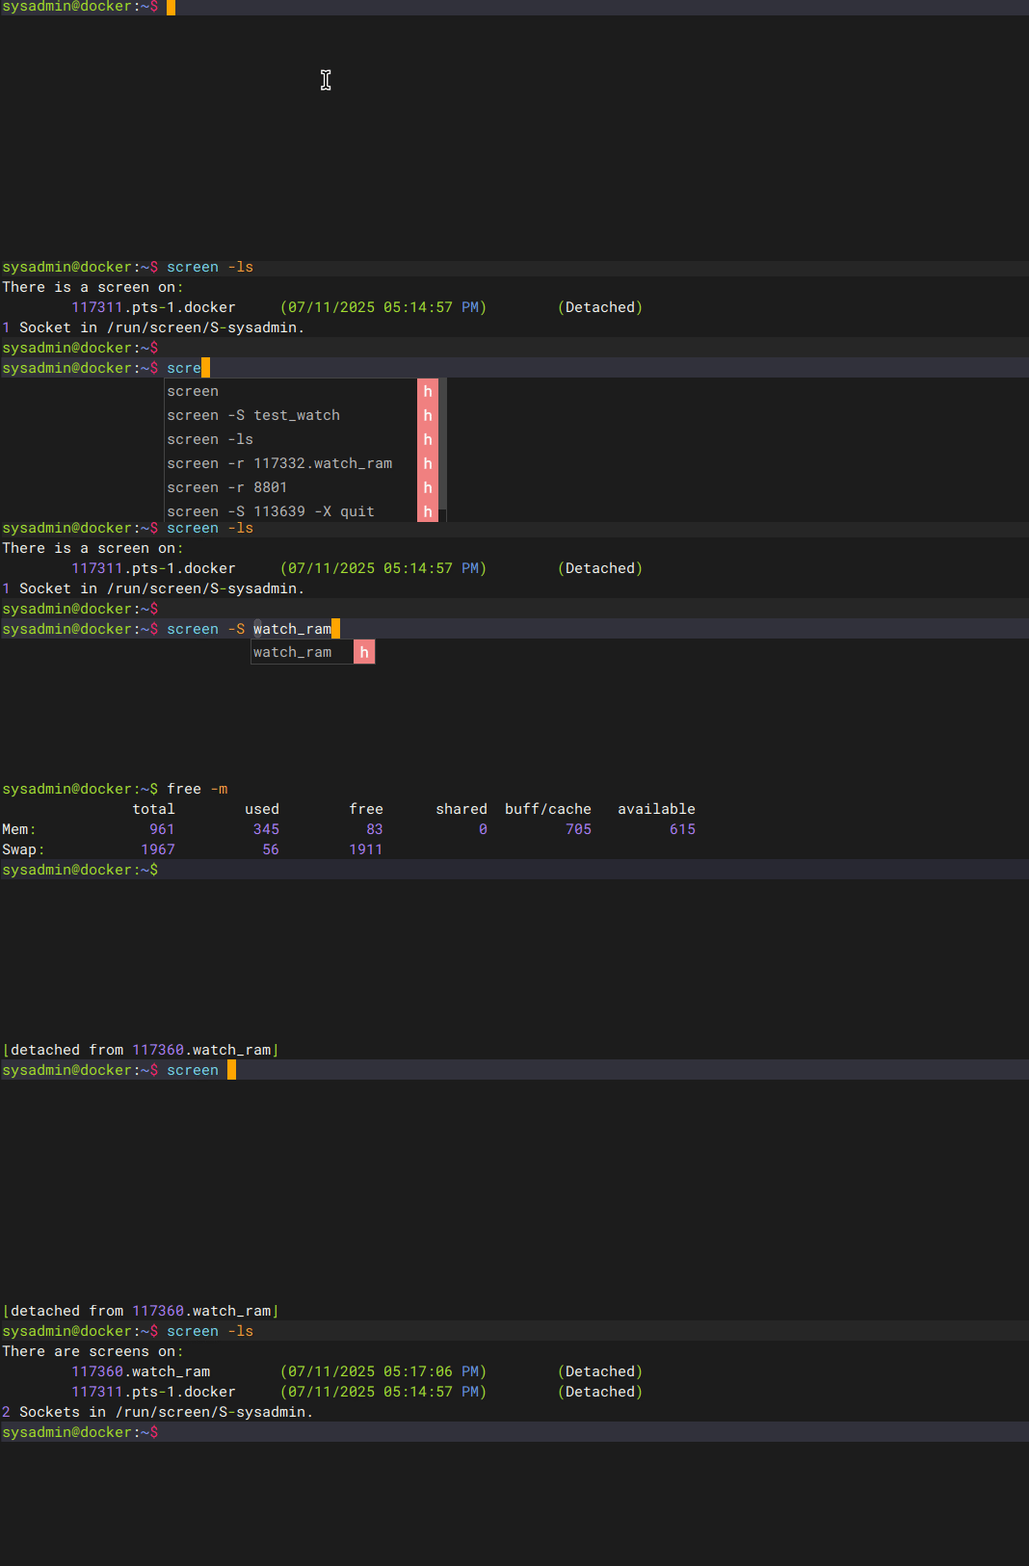
If you display the screen session will look like the image below:

From the image above, the screen name will change according to what you wrote, and will no longer use the connection type format and hostname for naming a screen session.
E. Delete a screen session
There are 2 ways to delete a screen session: from inside the screen and from outside the screen.
1. From inside the screen
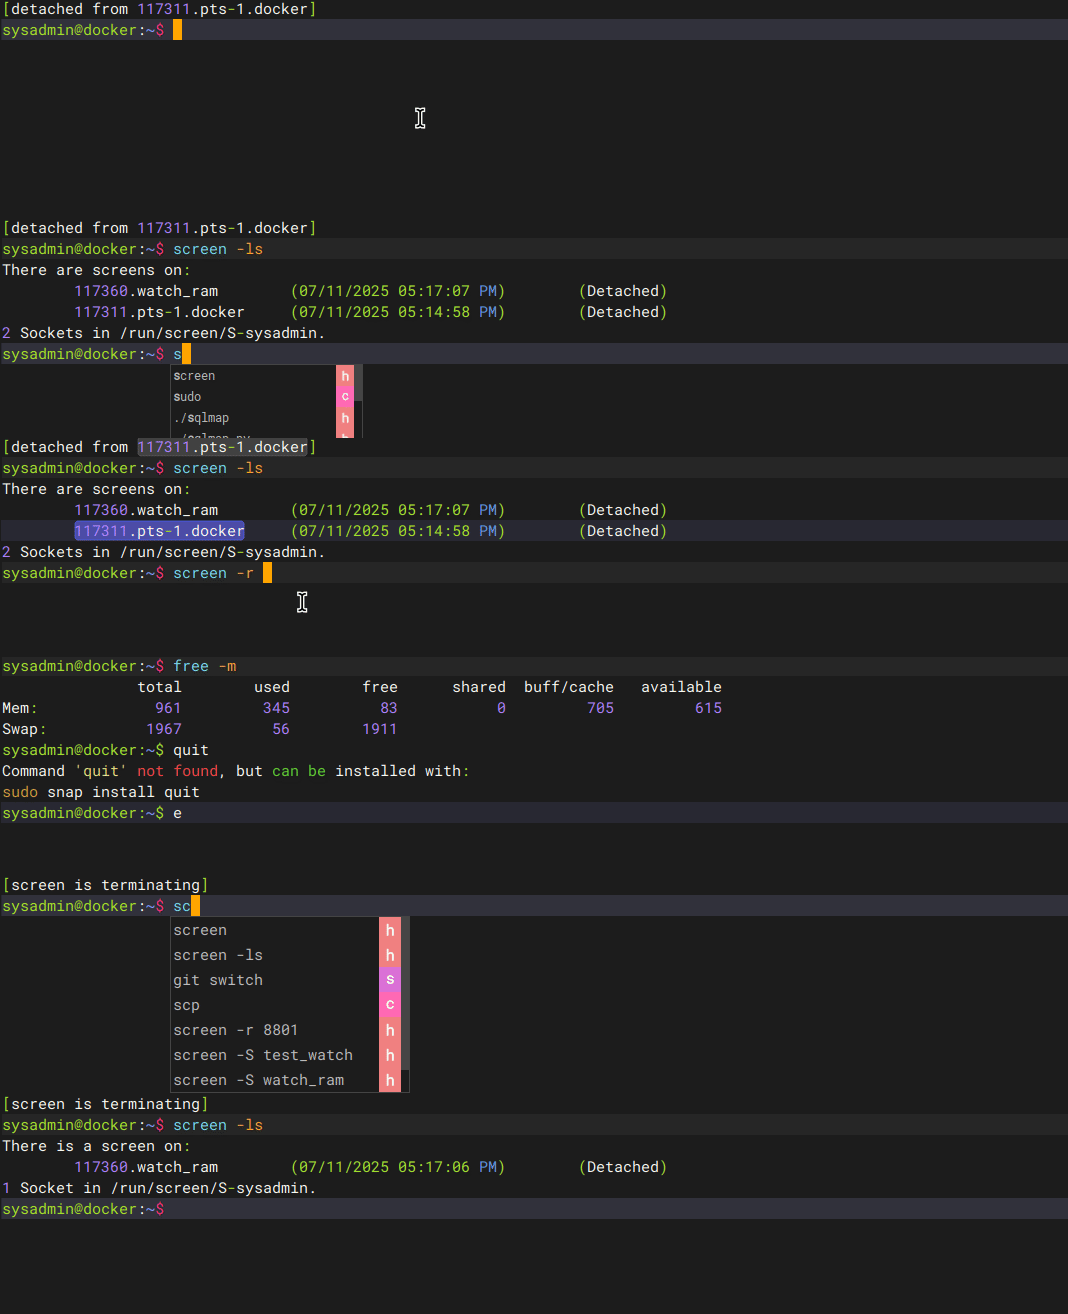
If it is from inside the screen, just type exit or press Ctrl+d for the session to end, the screen session will end, which is marked by the sentence [screen is terminating] on the screen, and the screen session will disappear as shown in the image below:
2. From outside the screen
If it is from outside the screen, there are 2 methods to turn off the screen session. The first method is to use the command in the format below:
screen -S screen_session -X quit
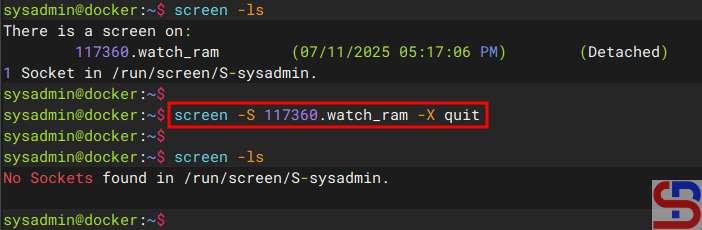
Let’s say you have a PID session 117360.watch_ram, and want to turn off the session from outside the screen. You can use the command:
screen -S 117360.watch_ram -X quit
And the screen session should be deleted, like in the image below:
The second method is to use the kill command using the format:
kill pid_screen_session
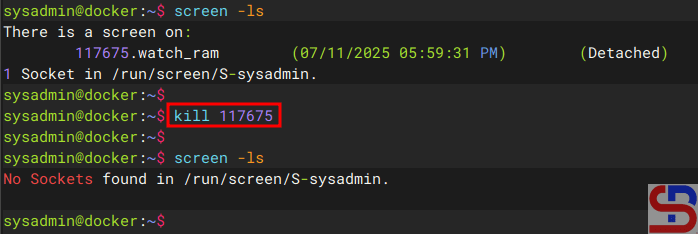
Let’s say you have a PID session 117675.watch_ram, and want to turn off the session from outside the screen. You can use the command:
kill 117675.watch_ram
And the screen session should be deleted, like in the image below:
Note
If you open a screen session on a terminal but suddenly your internet connection is lost, you can open a new terminal and connect to the previous screen session. But after you type the command screen -r pid_screen_session, there is a statement as below:
There is no screen to be resumed matching 1195600.pts-1.linuxmint.
It means that the screen session is already attached somewhere ‐- likely in another terminal, SSH session, or even an old/abandoned connection. You can forcefully take over the session using:
screen -D -r 1195600.pts-1.linuxmint
And you should be able to reattach to the screen session.
References
en.wikipedia.org
hostinger.com
geeksforgeeks.org
veeble.com
baeldung.com

