How to Share a Folder Between a Windows Host and a Linux Guest in VirtualBox?
The previous article explained how a folder is shared between a Windows host and a Windows guest in VirtualBox. This article will explain how to share a folder between a Windows host and a Linux guest in VirtualBox.
Problem
How to share a folder between a Windows host and a Linux guest in VirtualBox?
Solution
I use VirtualBox version 7.1.4 in this article and below are the steps so that you can share a folder between a Windows host and a Windows guest in VirtualBox:
A. In the Host
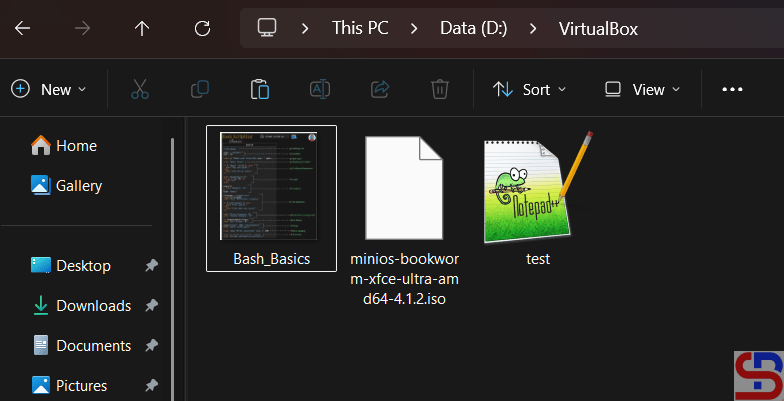
Create a folder on your host and I create a VirtualBox folder on drive D like in the image below:
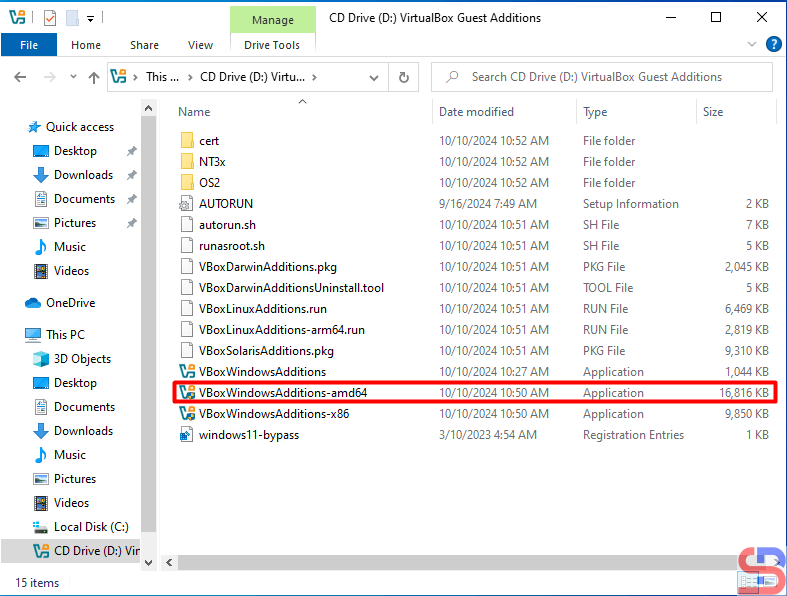
B. In the Guest
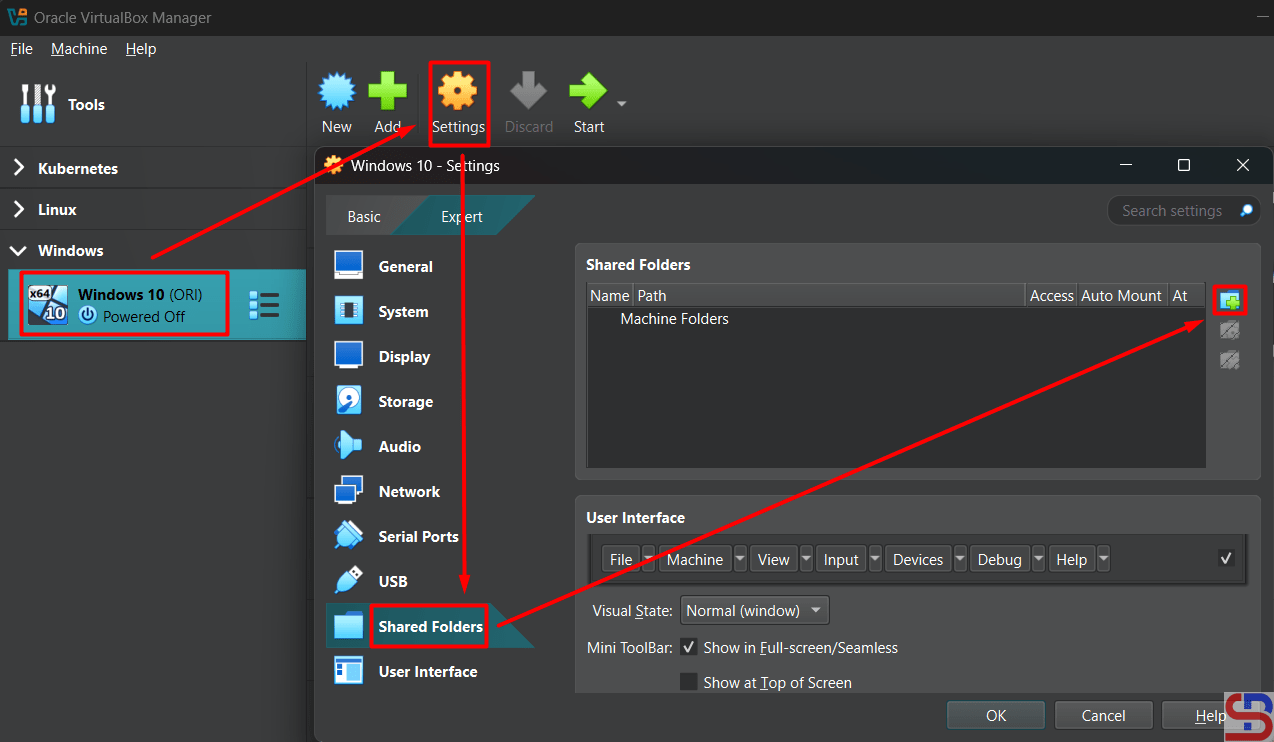
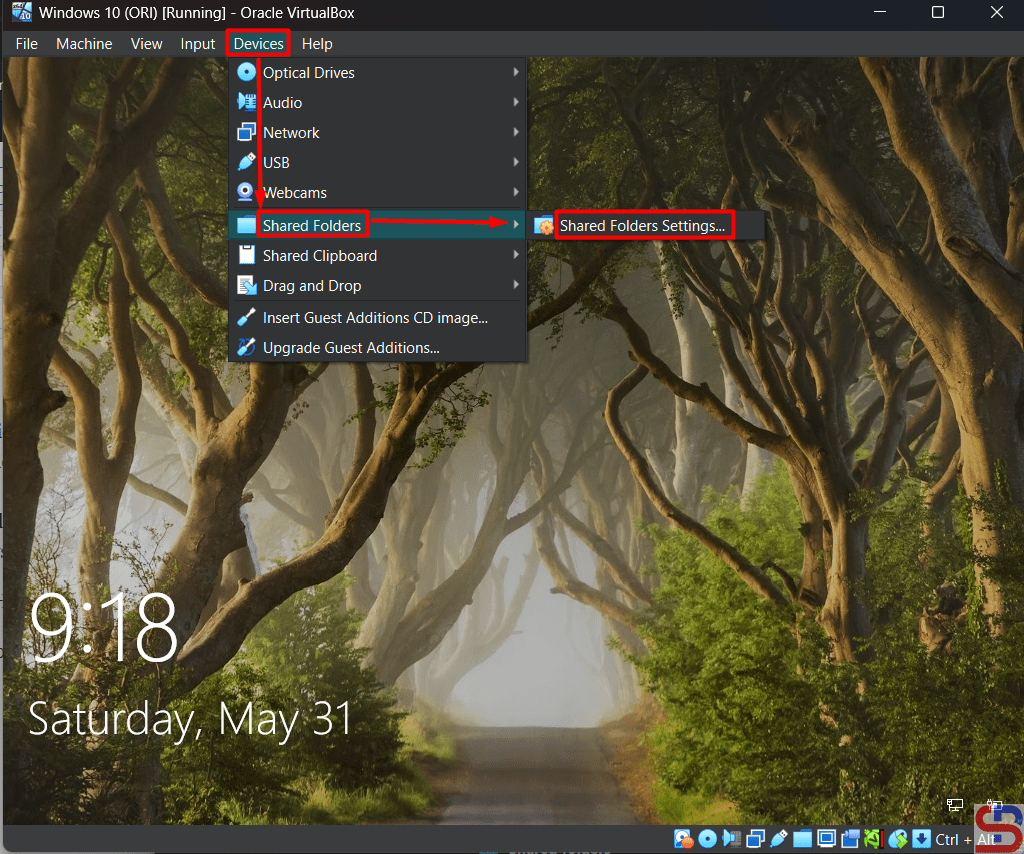
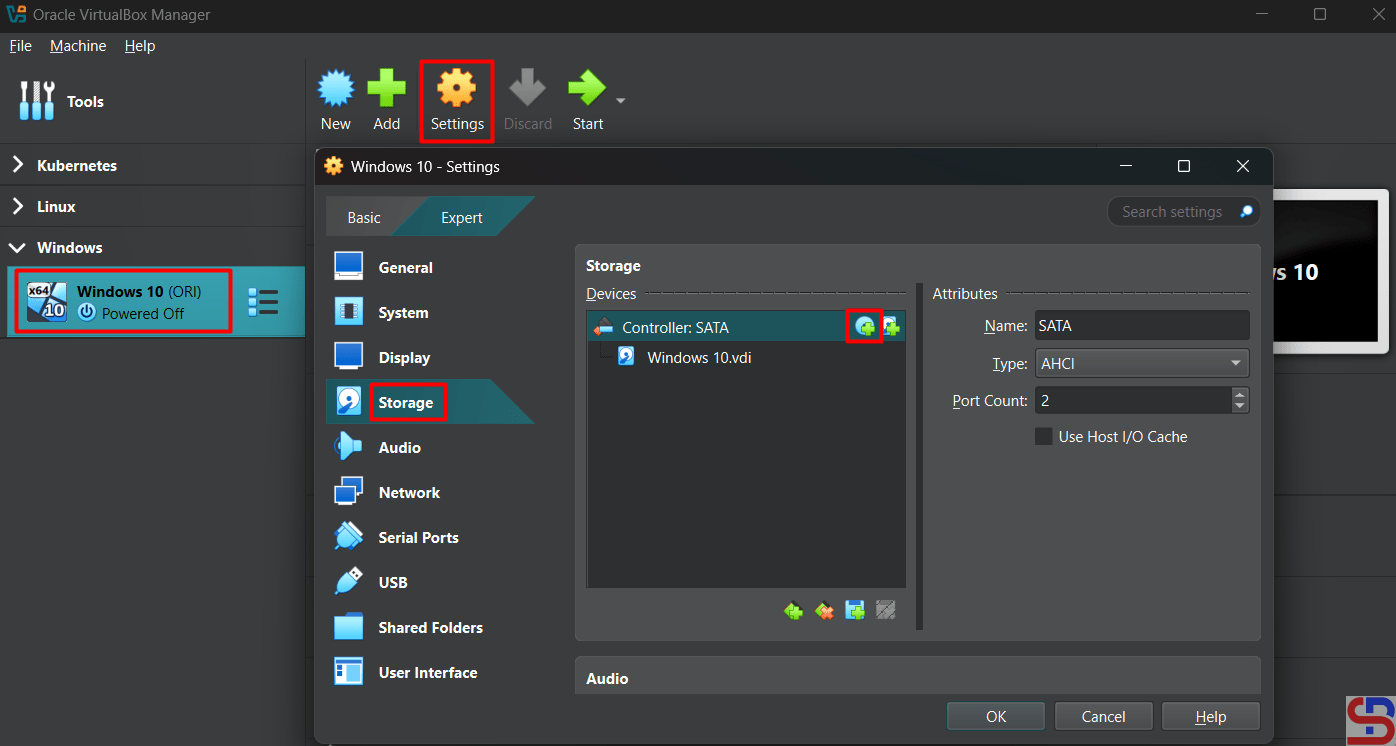
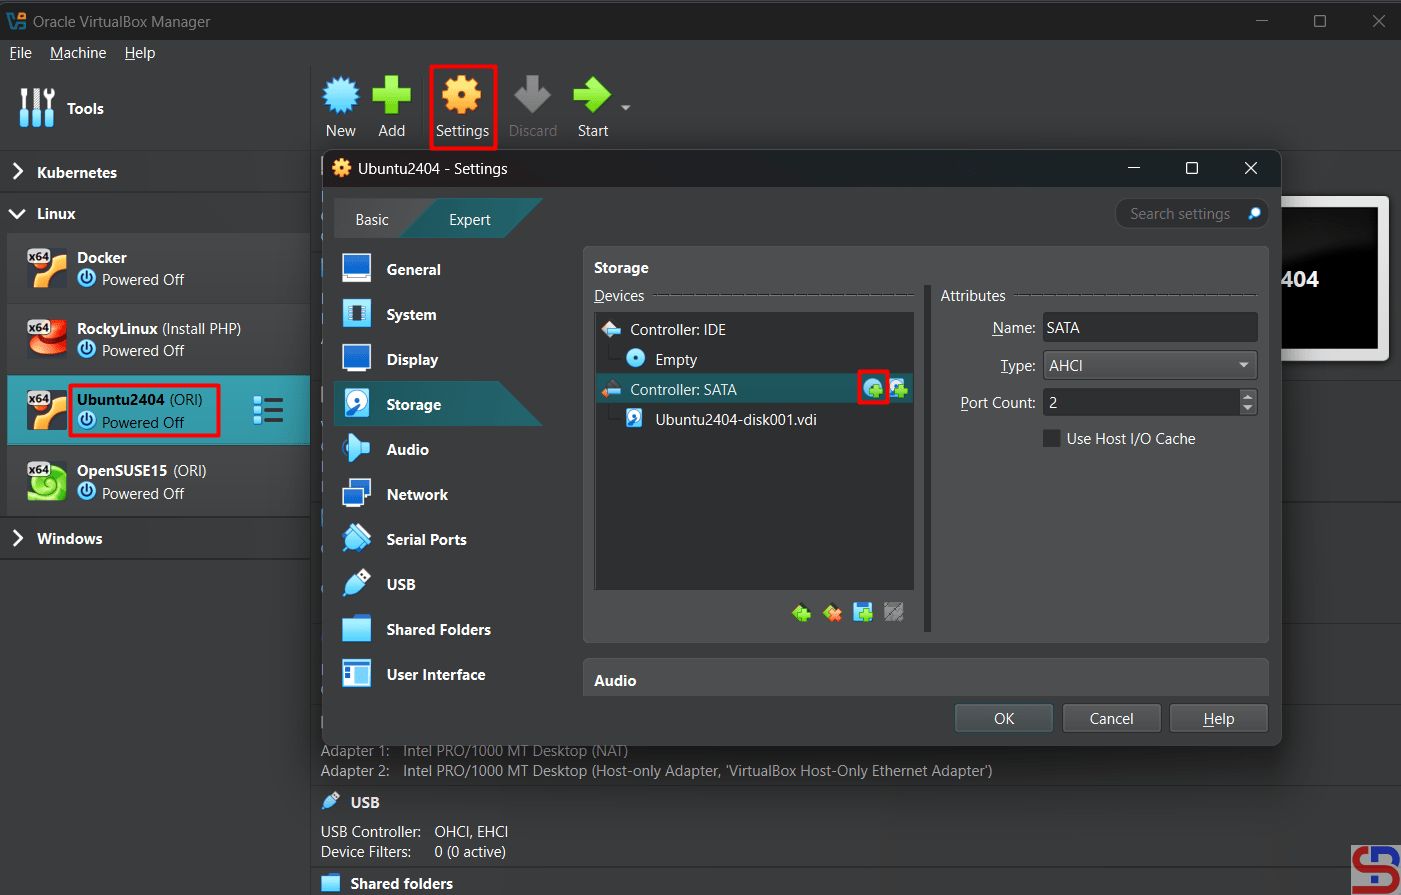
You don’t need to install a driver if you use Linux as a guest. You need to configure the shared folder in VirtualBox. Go to Settings – Shared Folders and click the icon like in the image below:

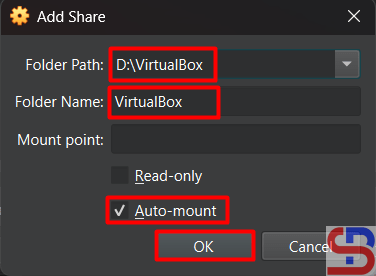
Fill the columns like in the image below:

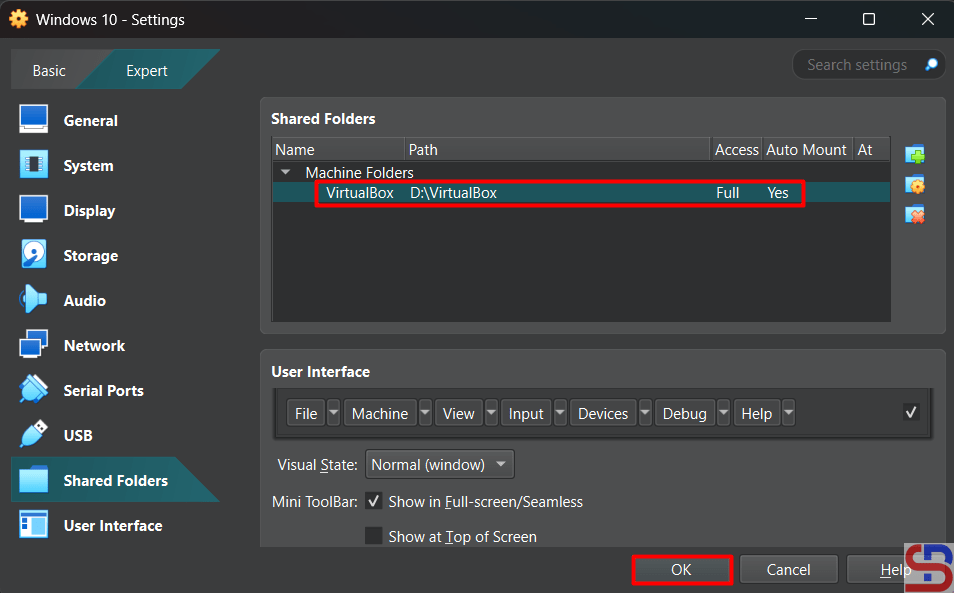
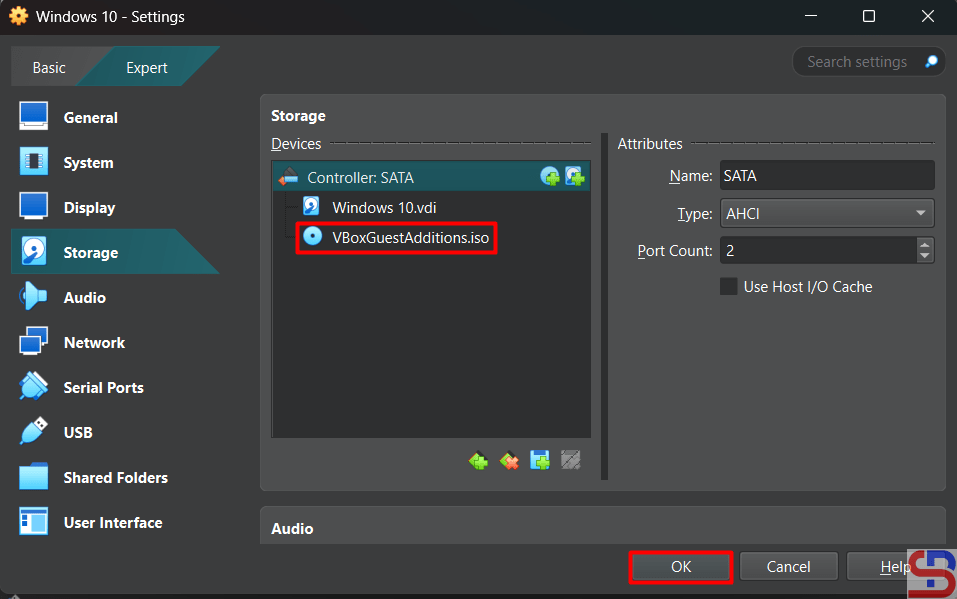
Click the OK button and the shared folder will appear like in the image below:

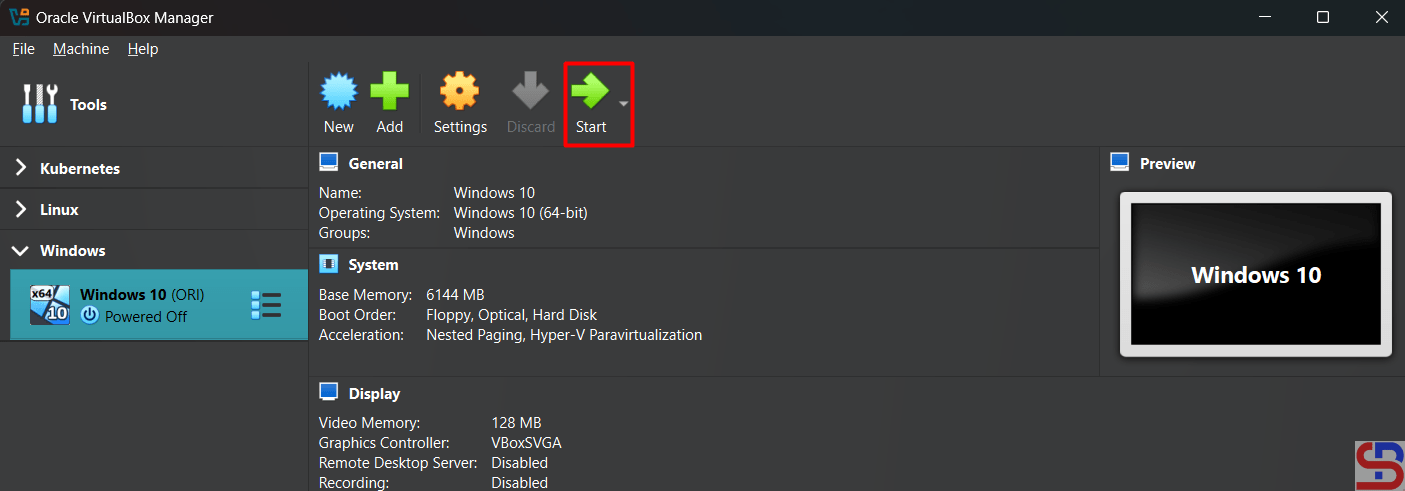
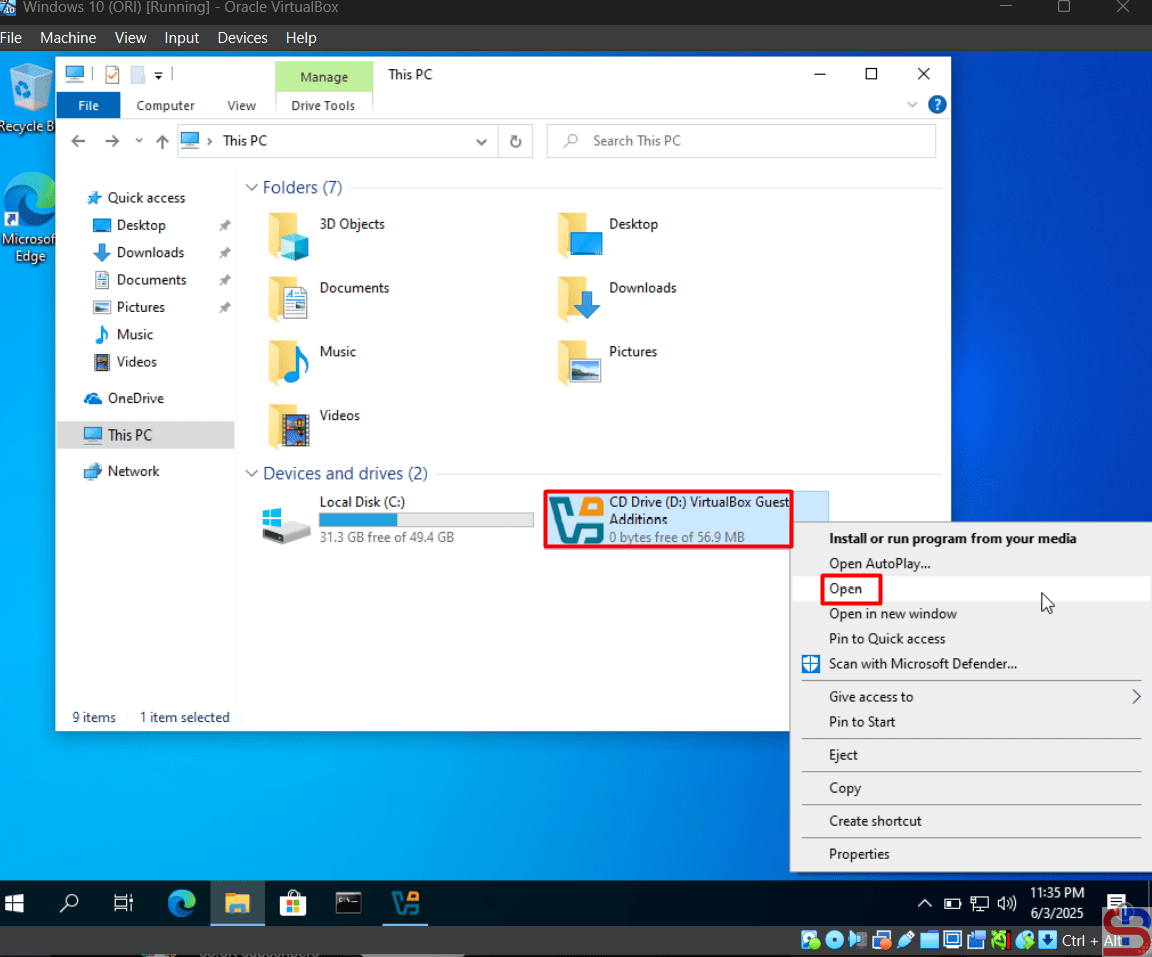
Click the OK button. After that, turn on your virtual machine by clicking the Start button like in the image below:

Make a folder in Linux and I created a folder /mnt/shared using the command below:
sudo mkdir /mnt/shared
Execute the below command to mount the shared folder with your folder:
sudo mount -t vboxsf VirtualBox /mnt/shared
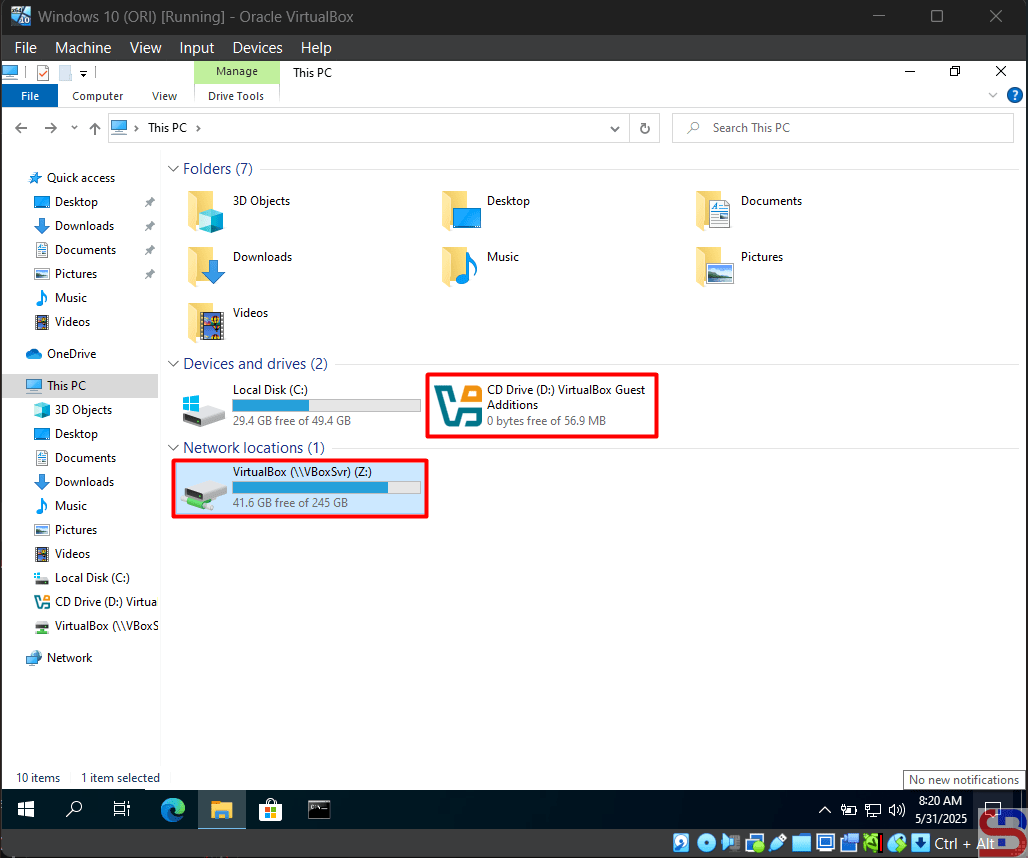
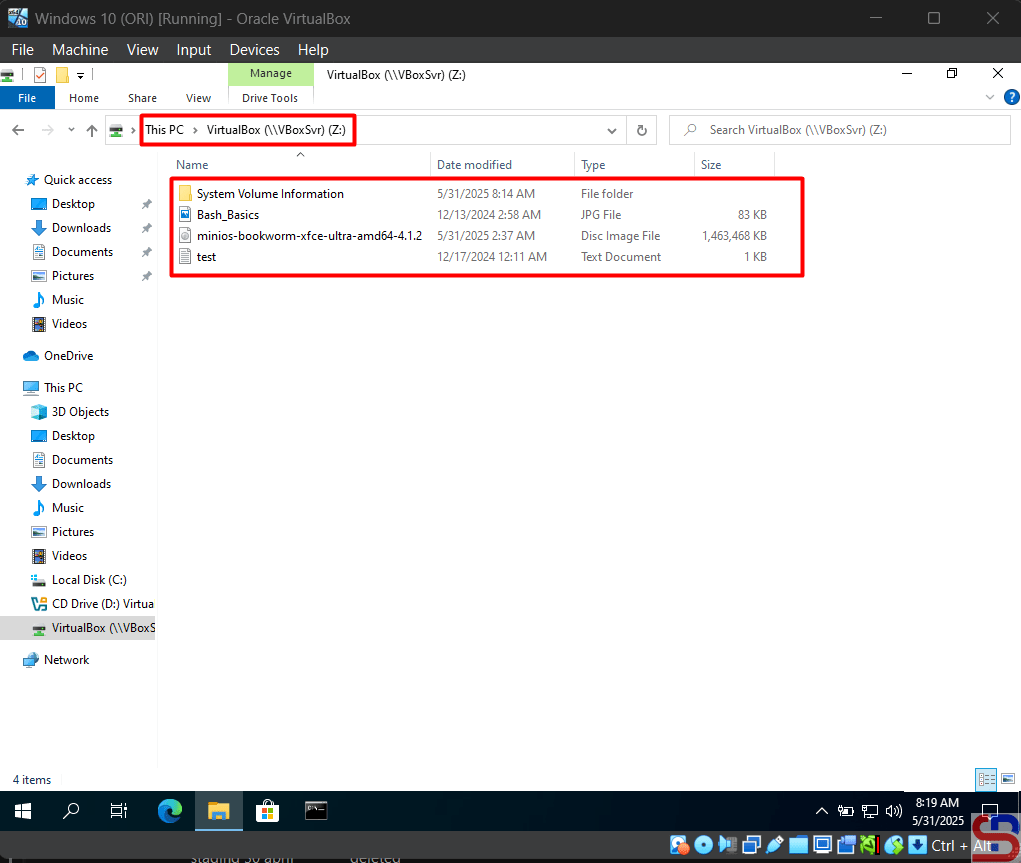
And you should be able to access the shared folder as shown in the image below:
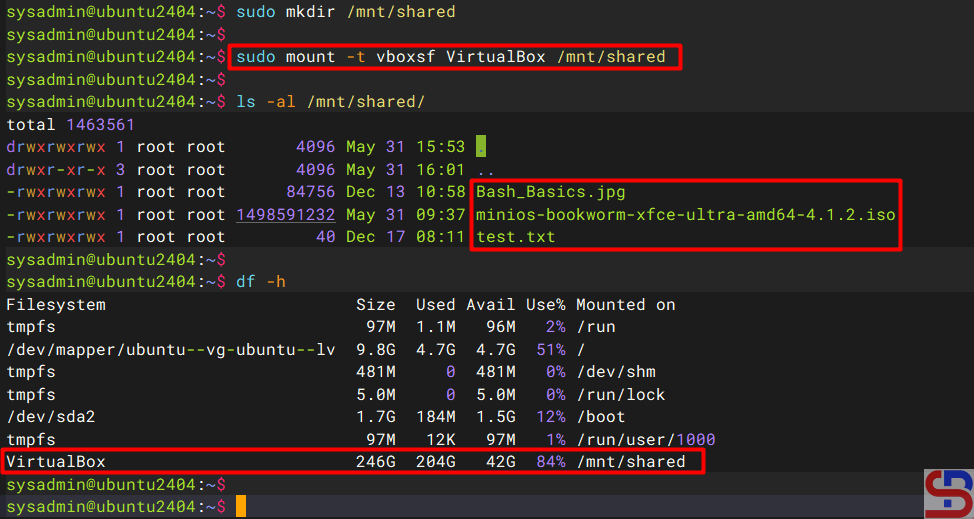
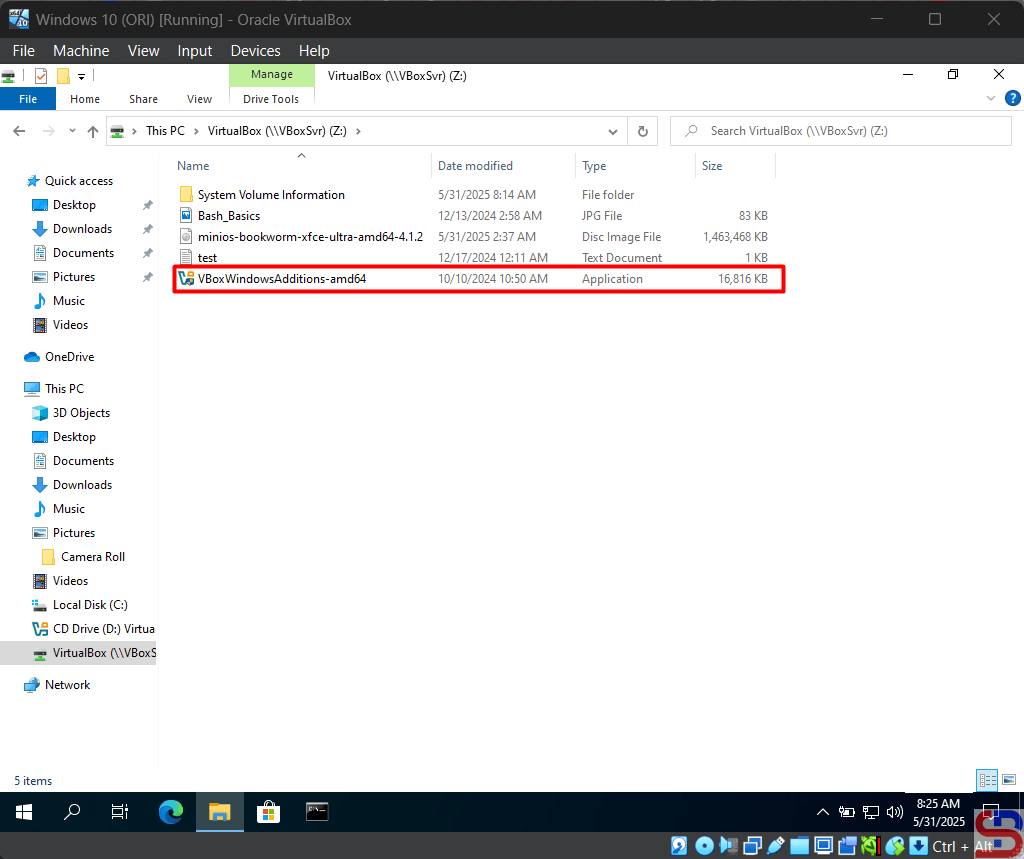
You can add or remove the file in the shared folder like in the image below:

Note
If you restart the Linux on your virtual machine, you will lose your shared folder and you have to be recreated. To avoid that, then use the command below to configure the /etc/fstab file so that the shared folder is not lost when this virtual machine is restarted:
echo 'VirtualBox /mnt/shared vboxsf rw 0 0' | sudo tee -a /etc/fstab
Any guest using any Linux distribution should be able to follow the above instructions.