How to Create a Virtual Machine Using CLI in GCP?
The previous article explained how to create a virtual machine in GCP using a GUI template. This article will explain how to create a virtual machine on GCP using the CLI.
Problem
How to create a virtual machine using CLI in GCP?
Solution
These are the steps to create a virtual machine using CLI:
A. Access to the gcloud
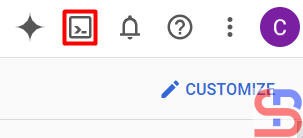
If you have already installed gcloud on your laptop, you can go to the next step. But, if you want to use gcloud in your GCP, go to the GCP dashboard, then click the small box as shown in the image below to activate the cloud shell (or you push the G then S button):
There will be a display below at the bottom:
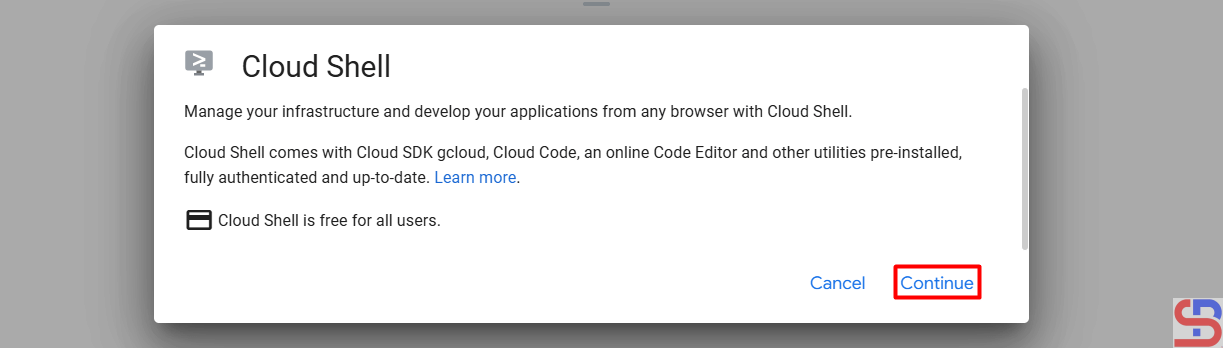
After you click Continue and wait a minute, the screen shown in the picture below will appear:

Click Authorize, and the cloud shell is ready to use. If you want the cloud shell to have a larger screen, you can click the button below:
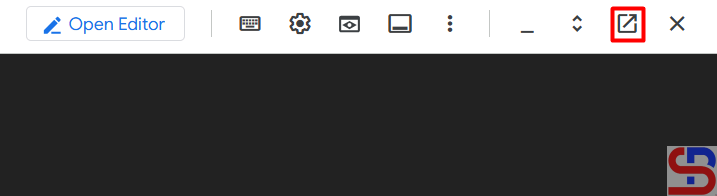
And the existing cloud shell will be inactive, as shown in the image below, so that the cloud shell will move to a new tab:

B. Run the command
By default, you can use the command below to display the options to create a virtual machine:
gcloud compute instances create --help
From the image above, you can see that you have many options. But actually, you can only use 3 options to make a VM: the zone, machine types, and image options. You have to know that by default, a VM will automatically get a hard drive size of 10 GB, so you don’t need to determine the size of a hard drive on a VM. To see the available zone options, use the command below:
gcloud compute zones list
Use the following command to view the machine type you wish to use:
gcloud compute machine-types list
To see the available images, use the command below:
gcloud compute images list
So, if you want to create a virtual machine in zone us-central1-c, use machine-type e2-standard-2, and use OS Ubuntu 24.04, use the command below:
gcloud compute instances create vm-cloud \
--zone=us-central1-c \
--machine-type "e2-standard-2" \
--image-project "ubuntu-os-cloud" \
--image-family "ubuntu-2404-lts-amd64" \
--subnet "default"
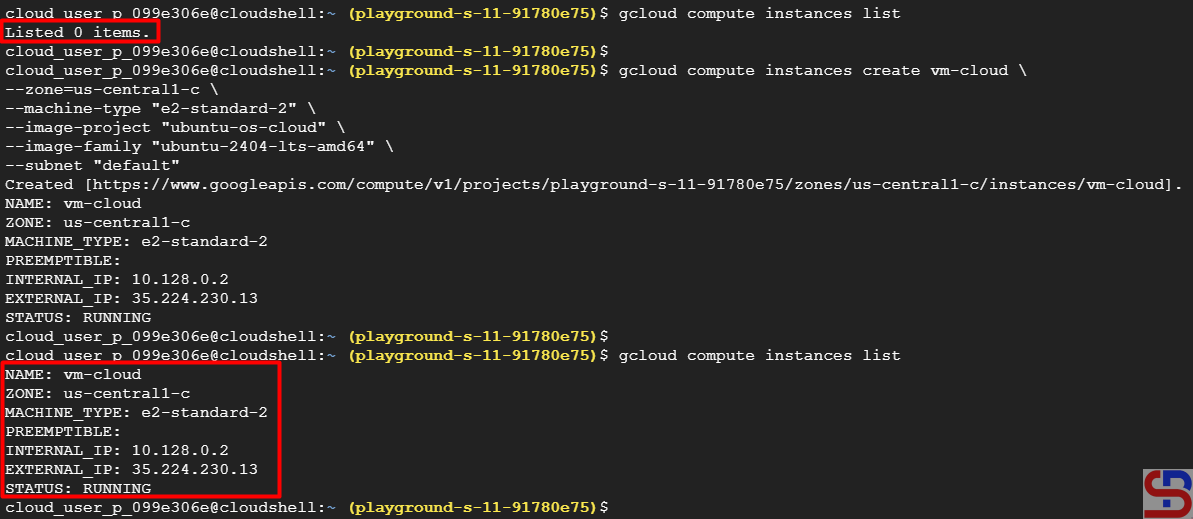
After that, check the existing VM in GCP using the command below:
gcloud compute instances list
The VM should be made as shown below:
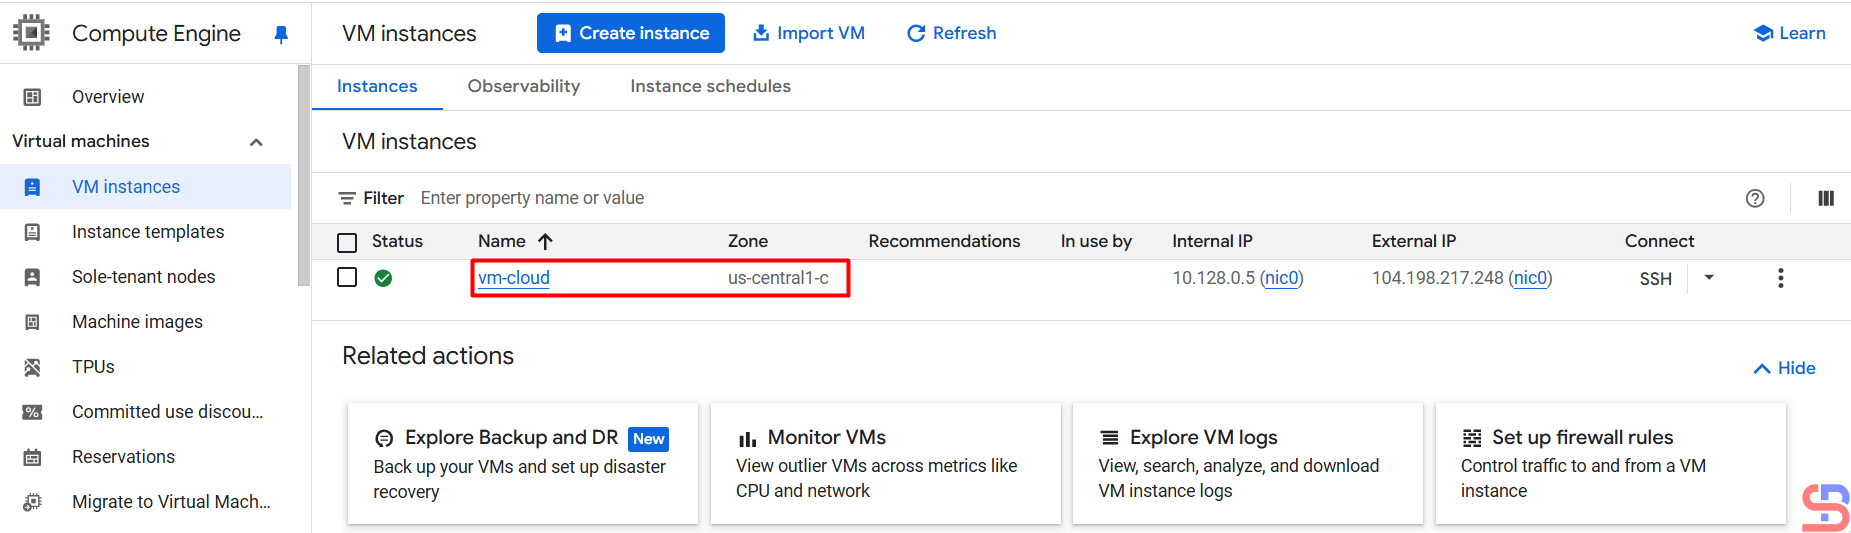
Or you can see the list of the VMs in the VM instances page in the image below:
Note
If you want to create a VM with a 50GB hard drive, use the command below:
gcloud compute instances create vm-cloud \
--zone=us-central1-c \
--machine-type "e2-standard-2" \
--image-project "ubuntu-os-cloud" \
--image-family "ubuntu-2404-lts-amd64" \
--boot-disk-size=50GB \
--boot-disk-type=pd-standard \
--subnet "default"
References
cloud.google.com
medium.com
diana-moraa.medium.com
youtube.com